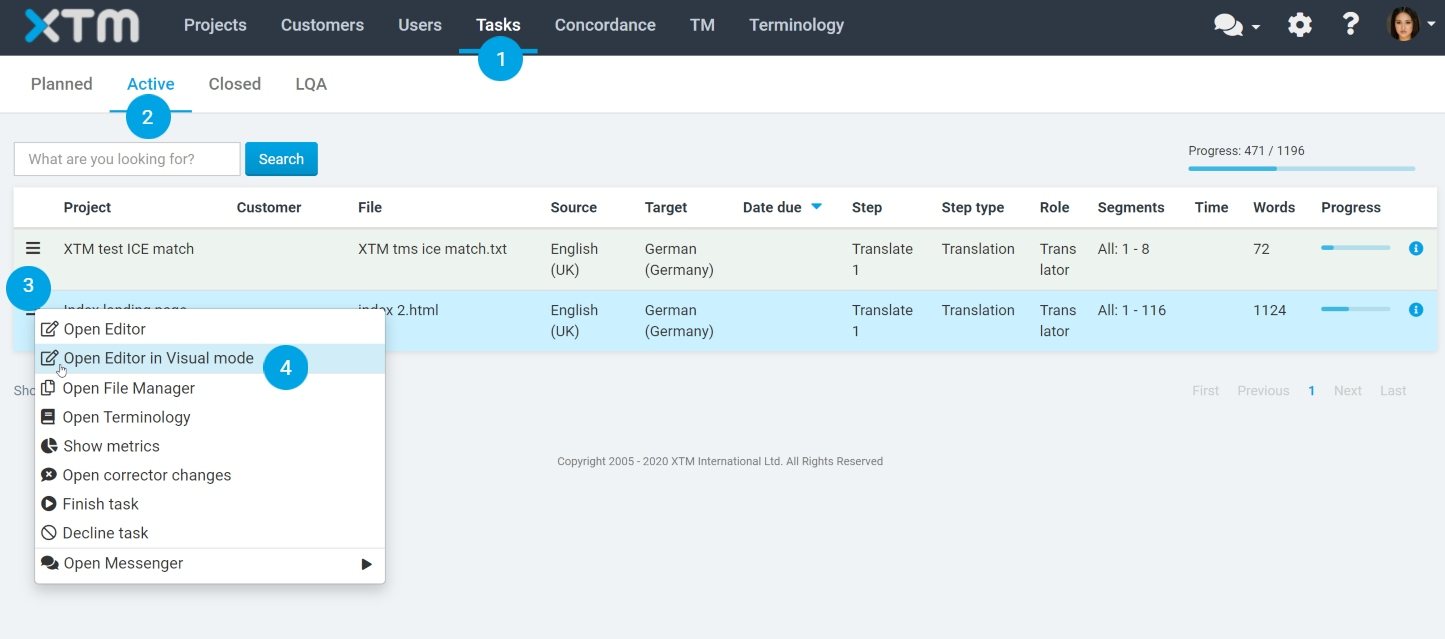
1. Open the project that contains HTML or XML source files from the Tasks tab. Click on a project and from the context menu select Open Editor in Visual mode.
2. The Visual mode preview window is fully adjustable. The size of the two sections can be modified by moving the division bar laterally.

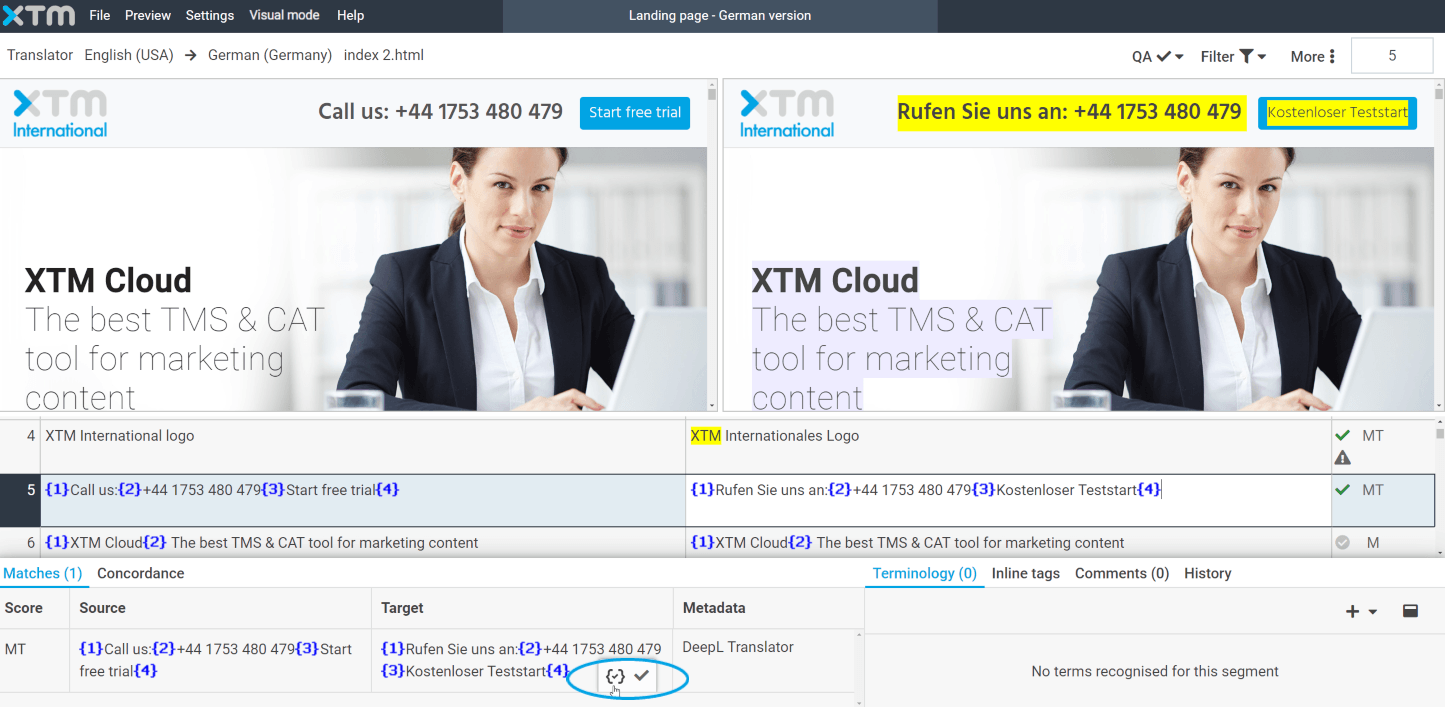
3. Click on the target text in the preview to activate the corresponding segment in the workspace. Type your translation into a segment and press Enter. Clicking on any segment in the workspace will take you to the relevant text in the preview.

4. If there is a machine translation available for a given segment, the target text preview will be highlighted in purple. To use the available machine translation without inlines, click on the tick icon under the Matches tab. To insert the available machine translation into the target segment with inlines, click on the curly brackets icon under the Matches tab.
5. If an ICE match is found, it will automatically be placed into the target segment. The ICE match is highlighted in green in the target text preview. Detailed information about a match will display at the bottom panel.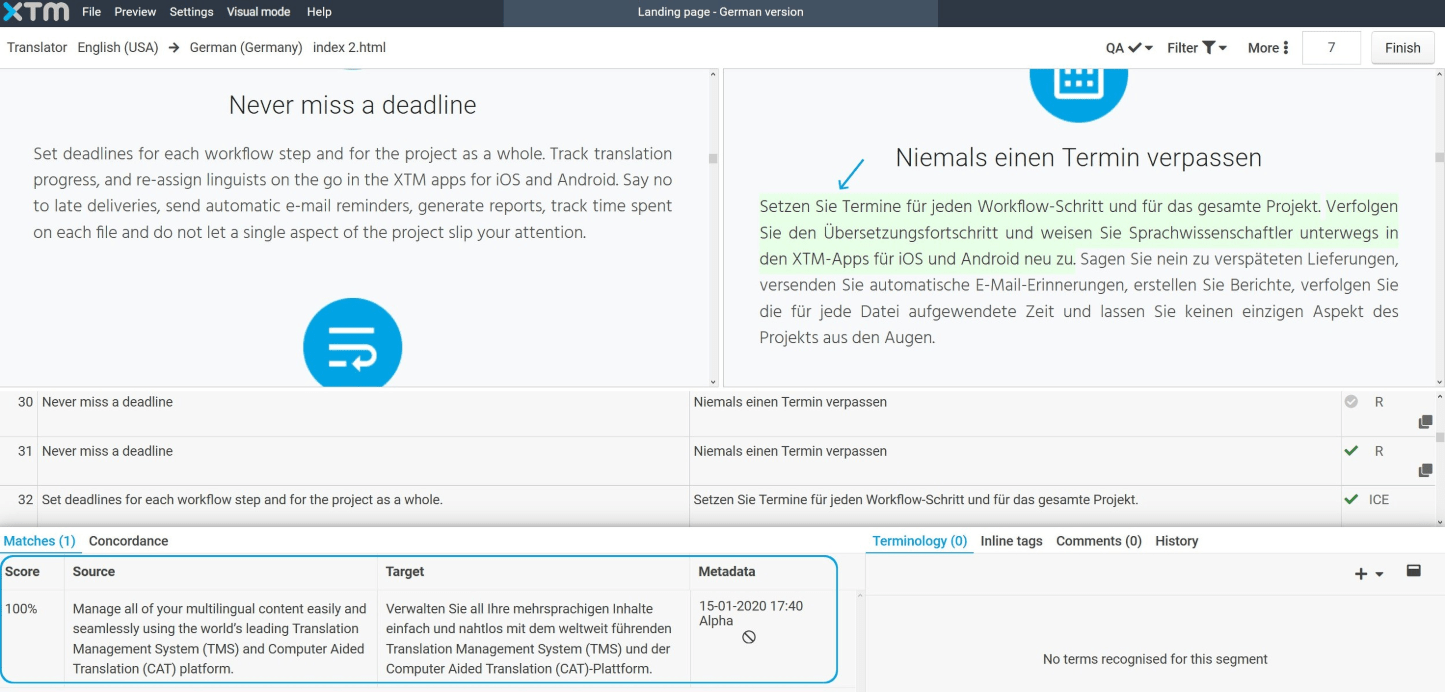
6. When a fuzzy match is found, click on the tick icon in order to place it in the target segment without inline elements.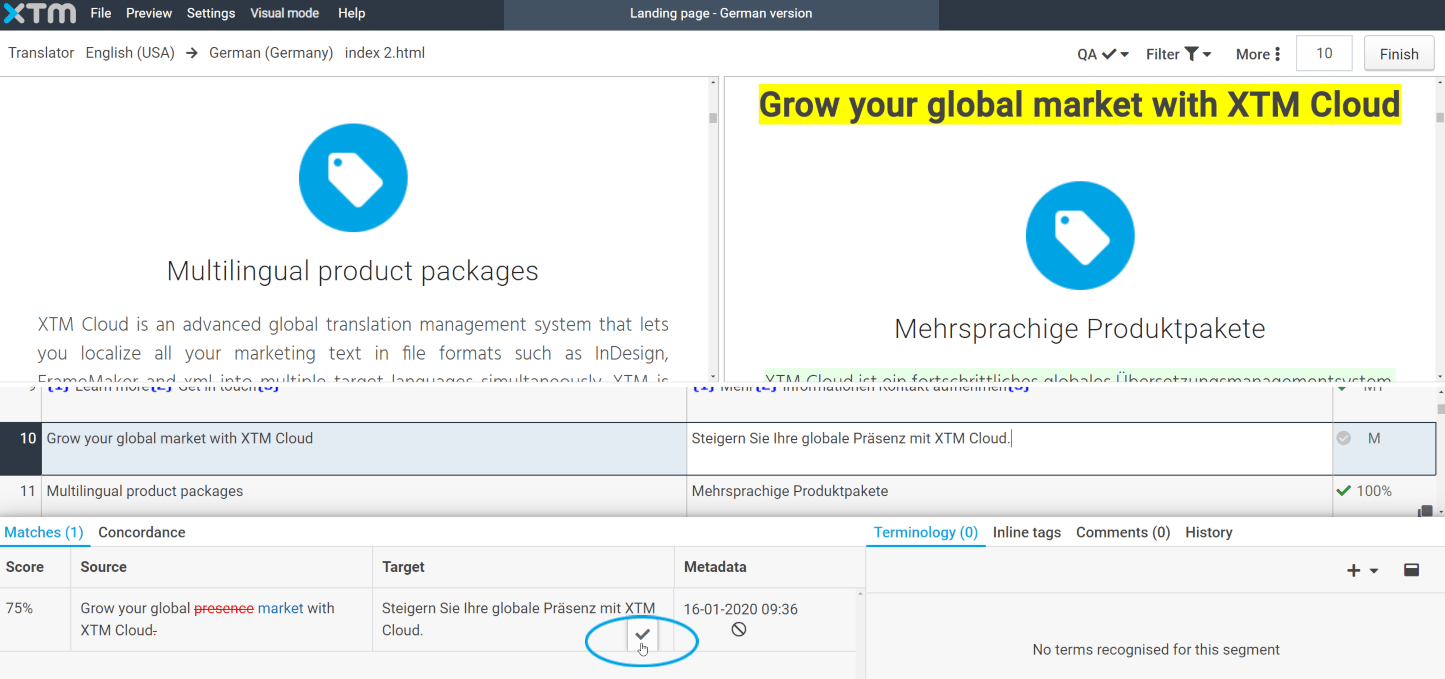
7. If the first instance of a repetition is translated, the translation will automatically be placed in all repeated instances across the entire document. Repetitions are marked with the letter “R” in the status column.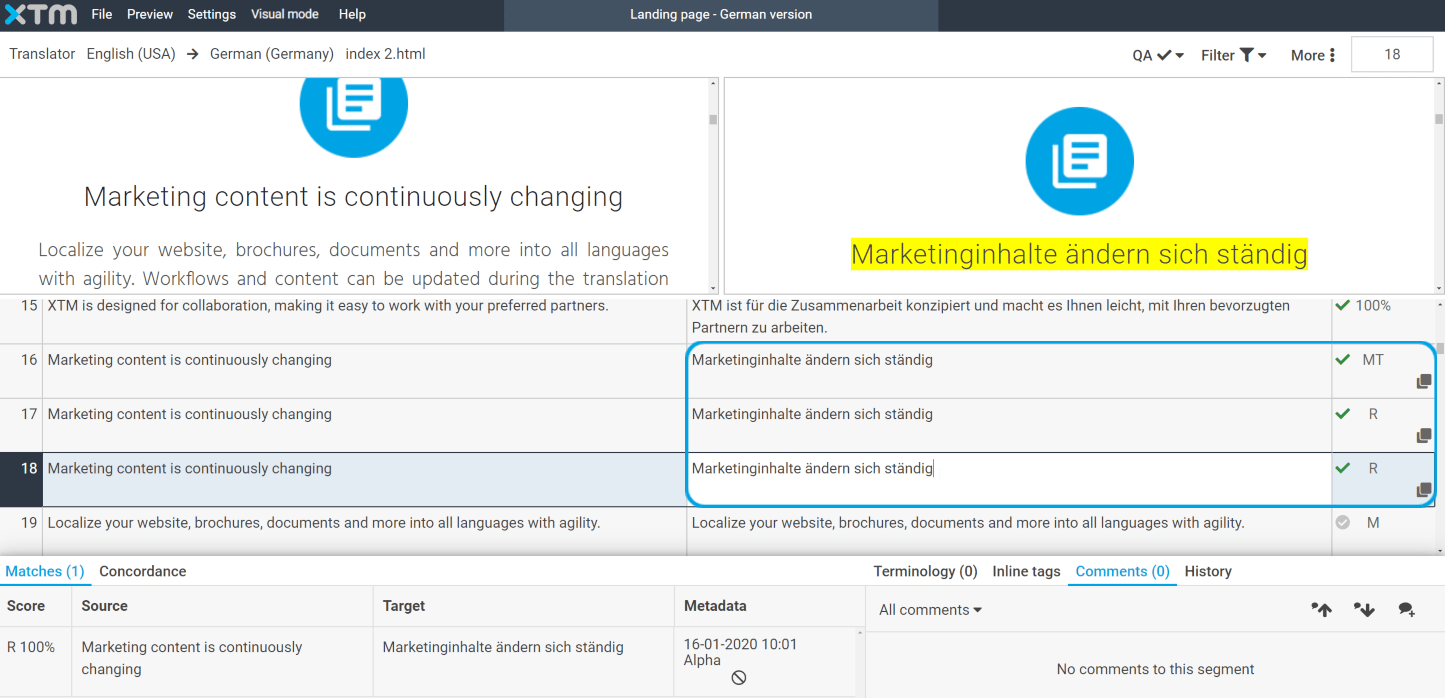
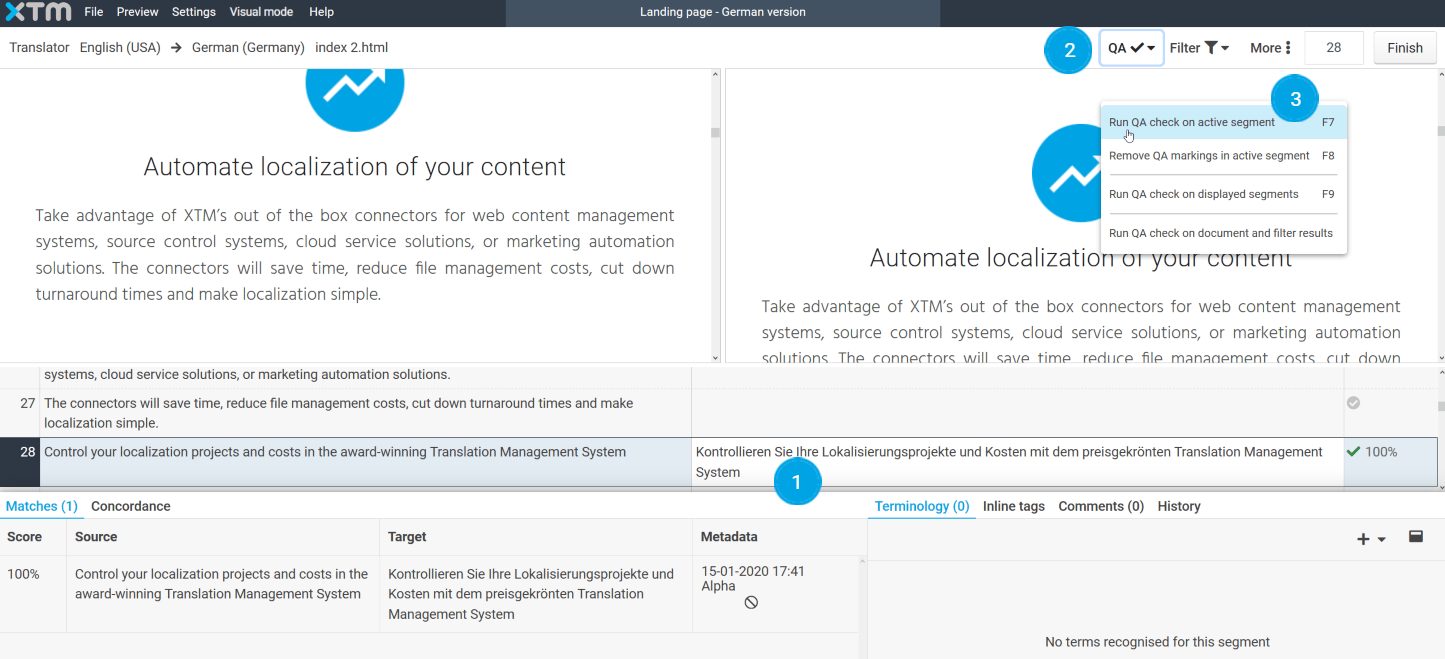
8. To run a QA check in a segment, go to the top panel and click QA > Run QA on an active segment. Note that activating QA puts any action performed in XTM Workbench on hold.
9. To add a comment from the docked panel, go to the Comments tab and click on the callout icon. You can also edit, delete or go to the next/previous comment by clicking on the icons with arrows pointing up and down.
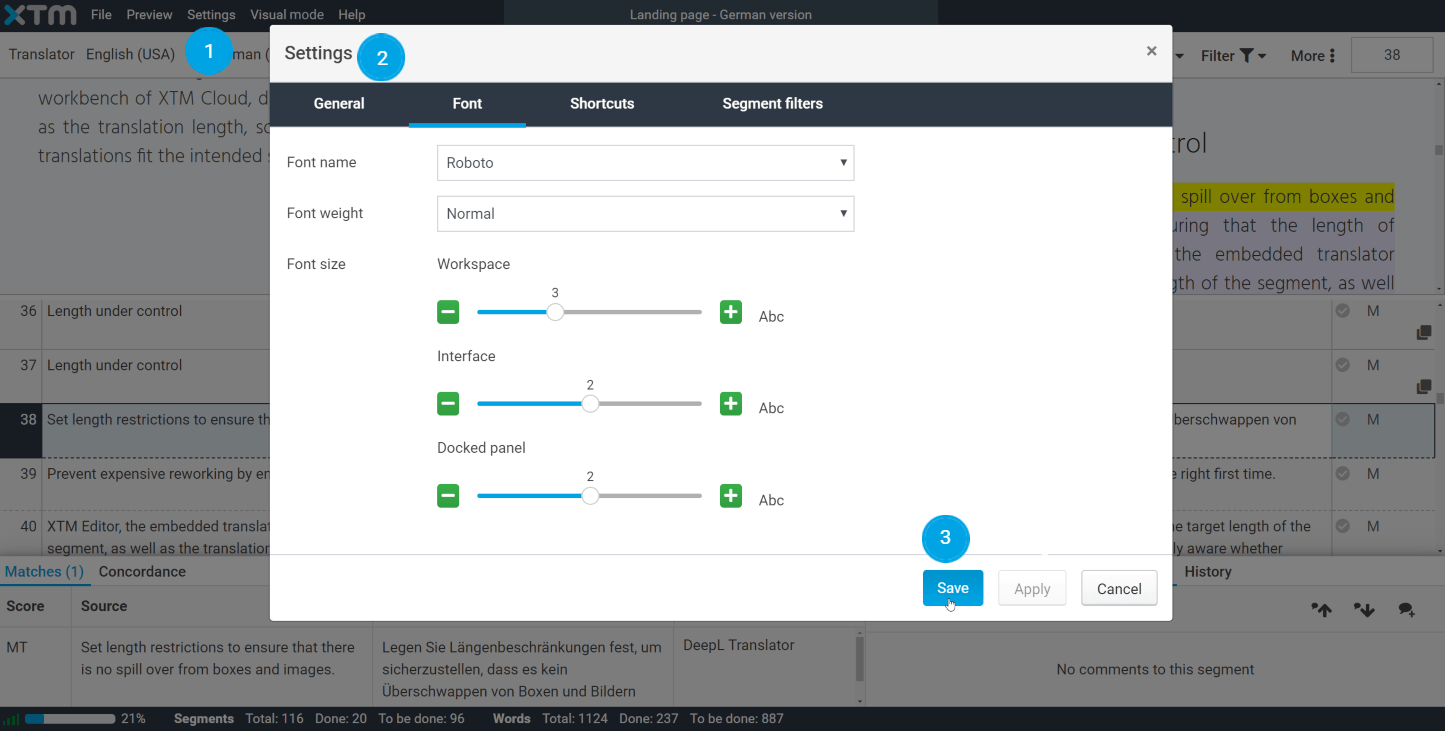
10. Click on the Settings icon to set your preferred options, such as Workbench window, font size, and shortcuts.