1. Log in as an administrator to your Drupal website and click Configuration on the administrative panel.
2. Scroll down to the REGIONAL AND LANGUAGE section and click Translation Management Translators.
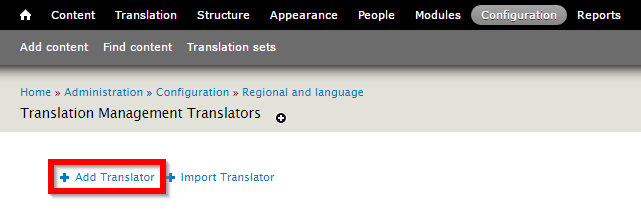
3. Click the Add Translator button.

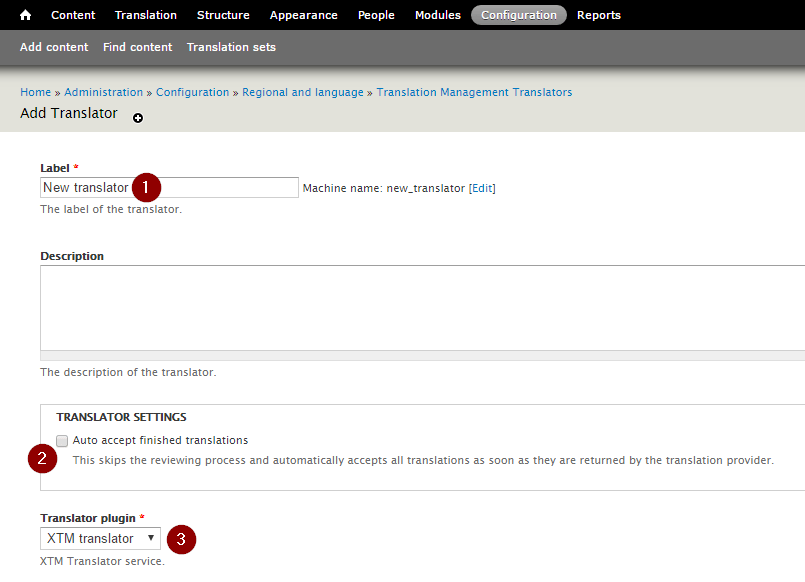
4. Enter a name for the translator. Choose whether to automatically finish translations and select XTM translator from the Translator plugin dropdown list. You can add a description if you want.
5. In the following fields:
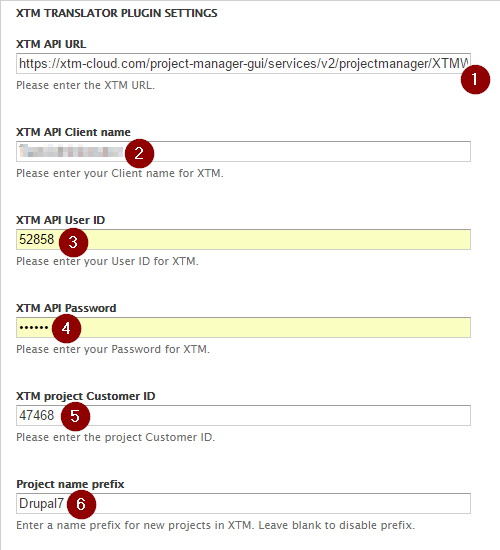
- XTM API URL: enter the API address used, in case of XTM Cloud that is https://www.xtm-cloud.com/project-manager-gui/services/v2/projectmanager/XTMWebService?wsdl
- XTM API Client name: enter the Company name you use to log in to XTM.
- *XTM API User ID: enter the ID of the user who will be the project creator and project manager (it is recommended to create a new user for the connector alone to more easily track projects)
- XTM API Password: enter the password used to log in to XTM by the user selected as the project creator and project manager
- **XTM project Customer ID: enter the ID of a customer for whom projects will be created
- Project name prefix: enter the prefix to the project name that will denote that it is created by the XTM Drupal 8 Connector*You can check user ID in XTM. Go to the Users tab > User list and place cursor on the I icon.
 **You can check customer ID in XTM. Go to the Customers tab > User list and place cursor on the I icon.

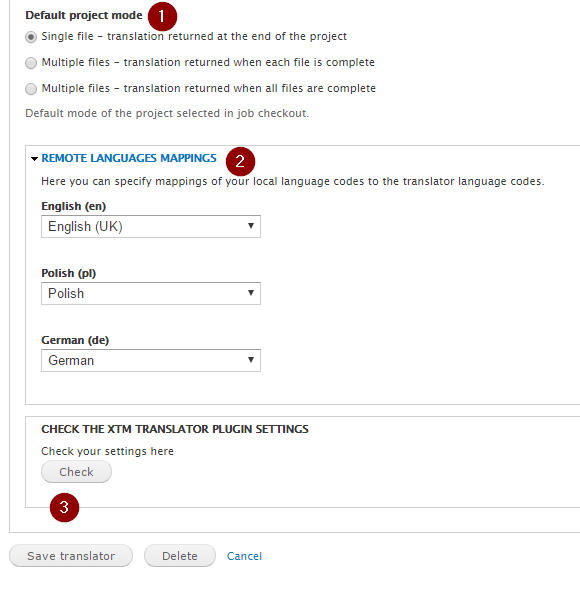
6. Select whether files are meant to be returned together or separately, and confirm that language codes under REMOTE LANGUAGES MAPPINGS match specific languages or language variants. Then click the Check button to check if the connection has been established or the Save translator button to save the configuration.