-
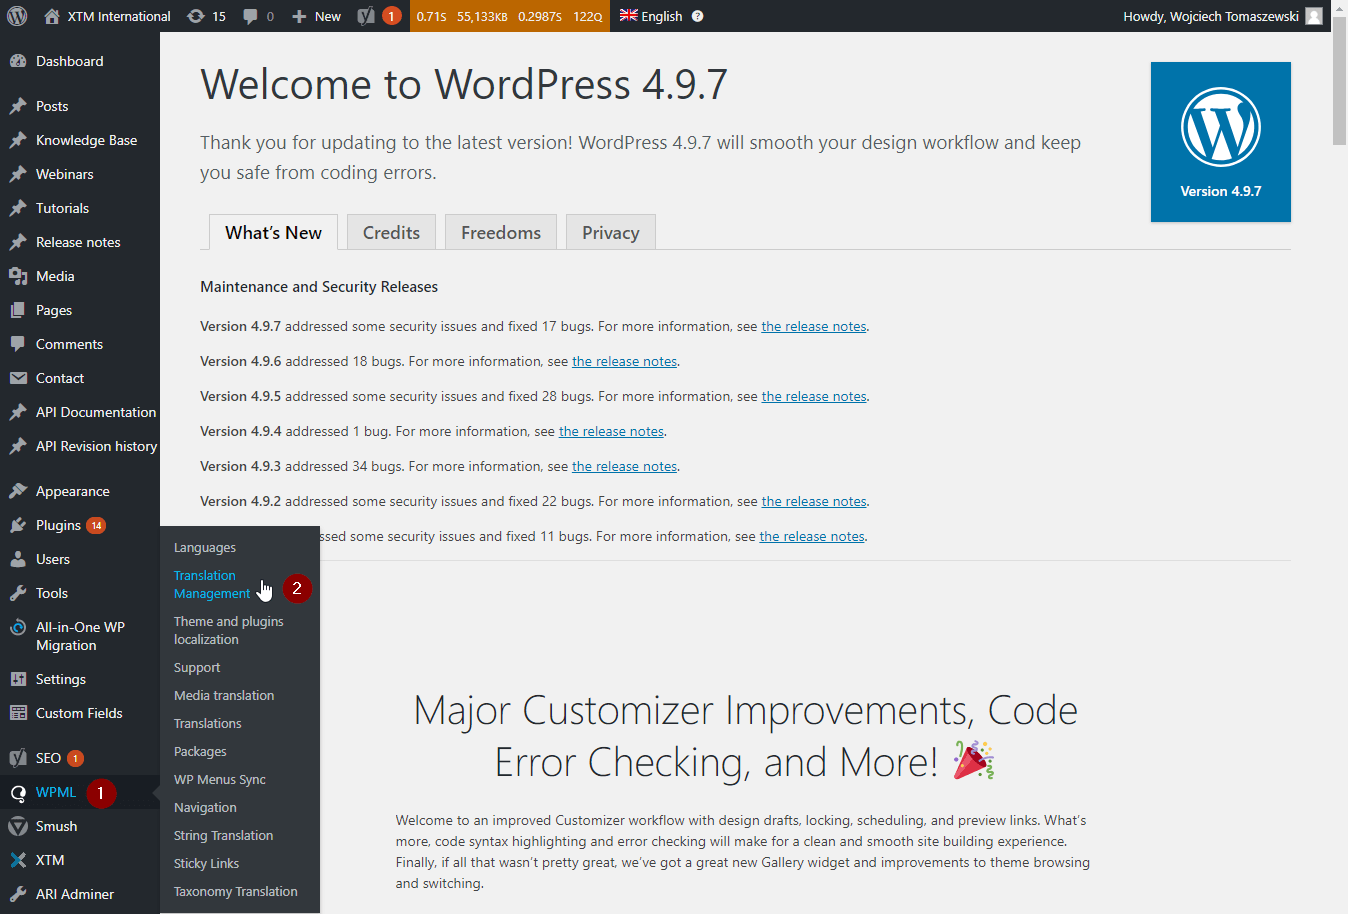
- Log in to your WordPress account. Expand the WPML menu. Click Translation Management.
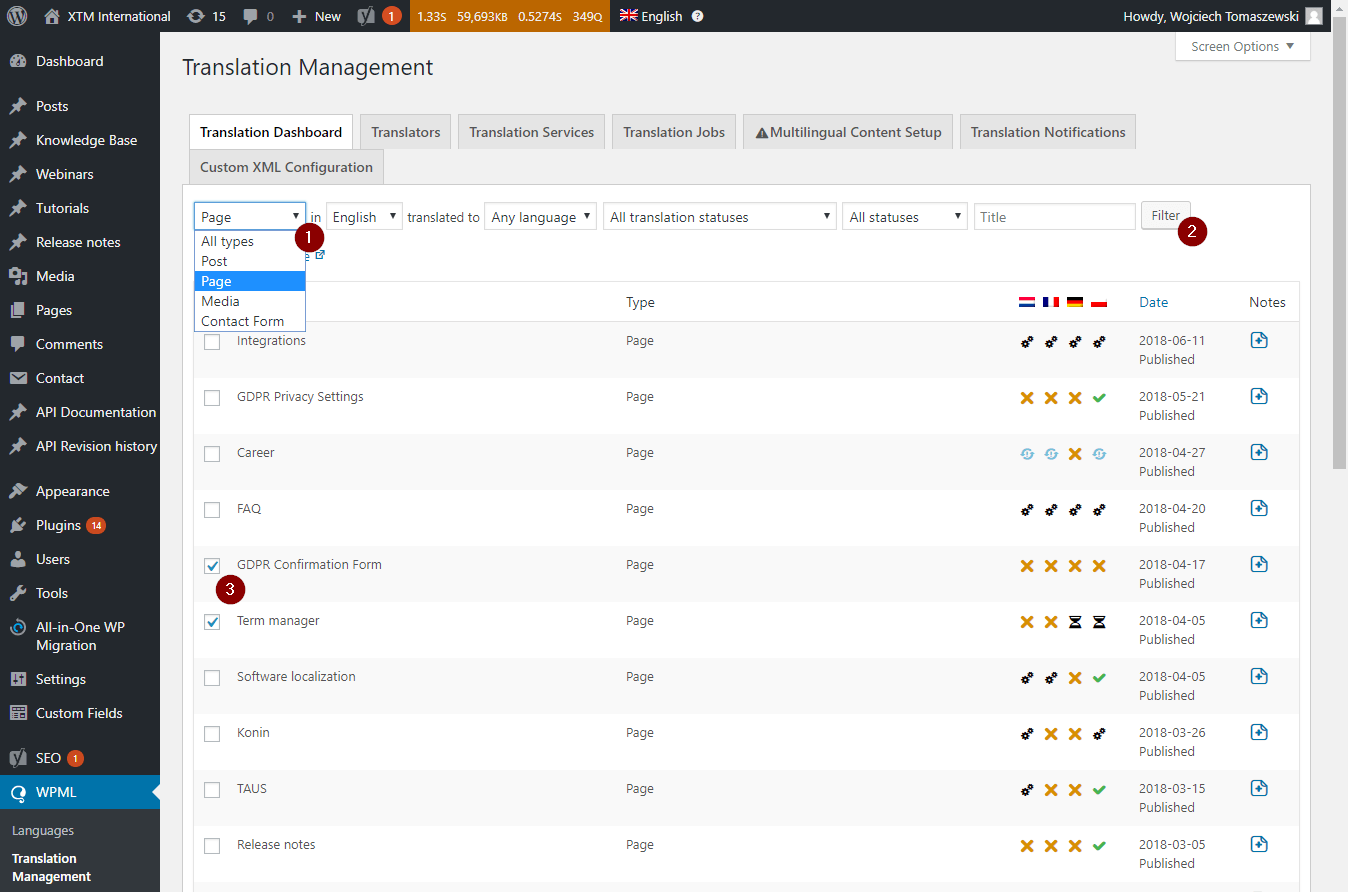
- Choose the type of content to display, then click the Filter button. Select the items you want to translate.
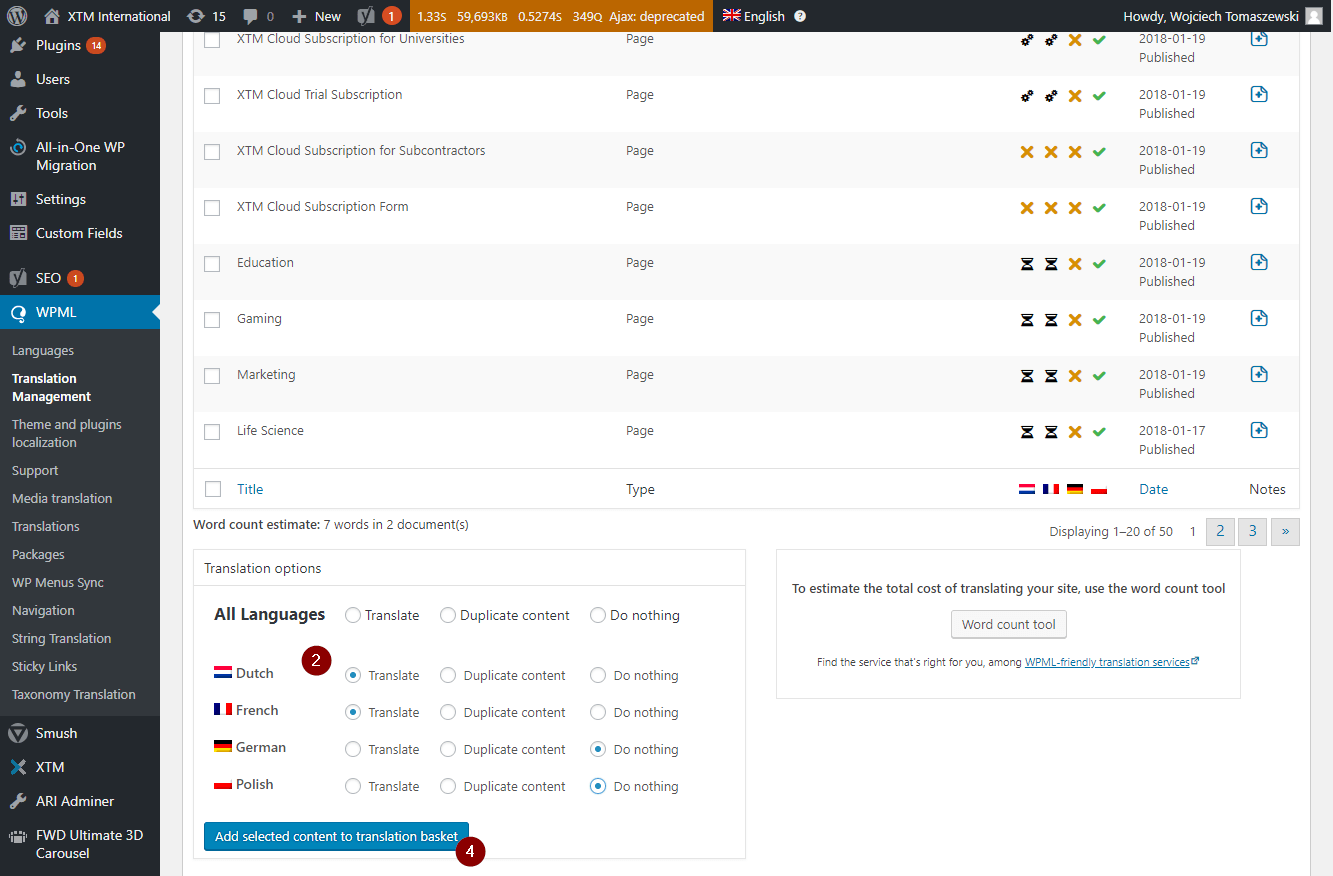
- Choose the action you want to perform for each language, then click Add selected content to translation basket. Actions available for languages:
- Translate: content is translated into the specified language.
- Duplicate content: content is not translated. Instead, source text is copied to posts and pages displayed for specified languages.
- Do nothing: no action will be performed for the specified languages.
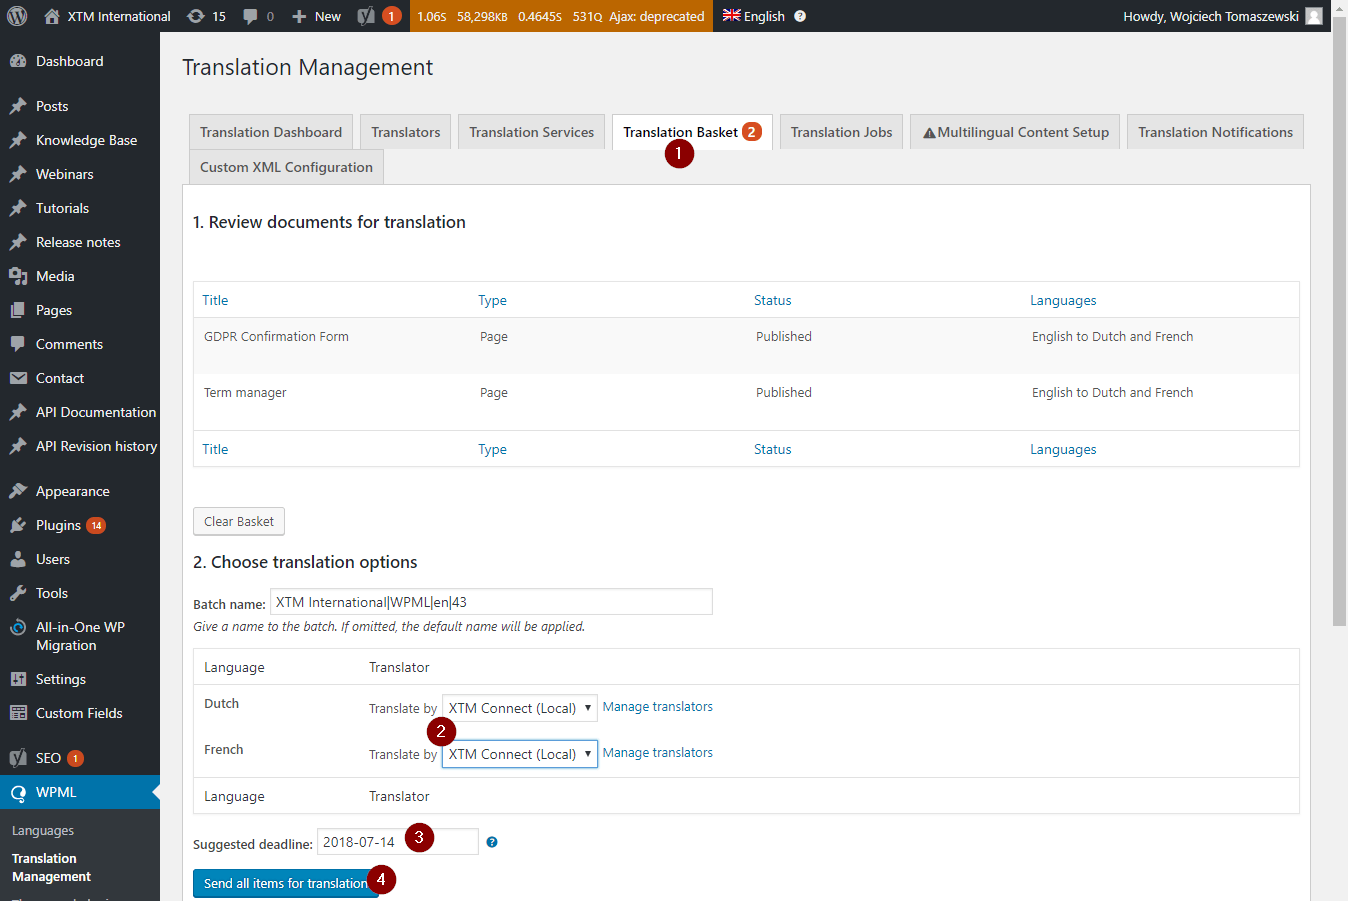
- Go to WPML Translation Basket, choose XTM Connect (Local) for all languages, specify a deadline for the translation. Then, click Send all items for translation.
- Expand XTM menu and go to WPML Job List. Select items added in the last batch. From the Bulk actions dropdown menu select either to Send to XTM without template or one of the options to Send to XTM with the template of your choice.
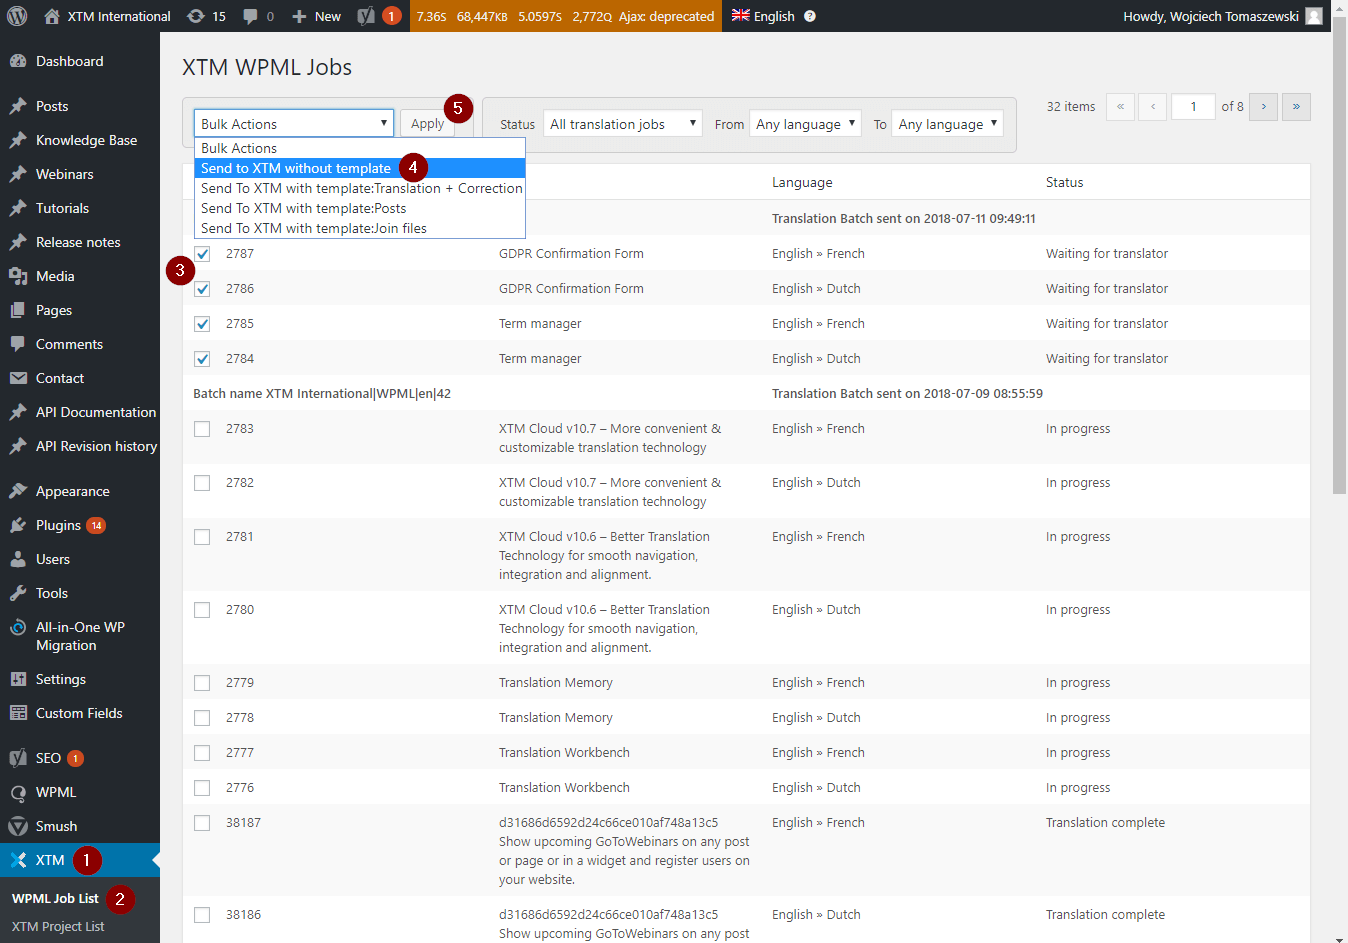
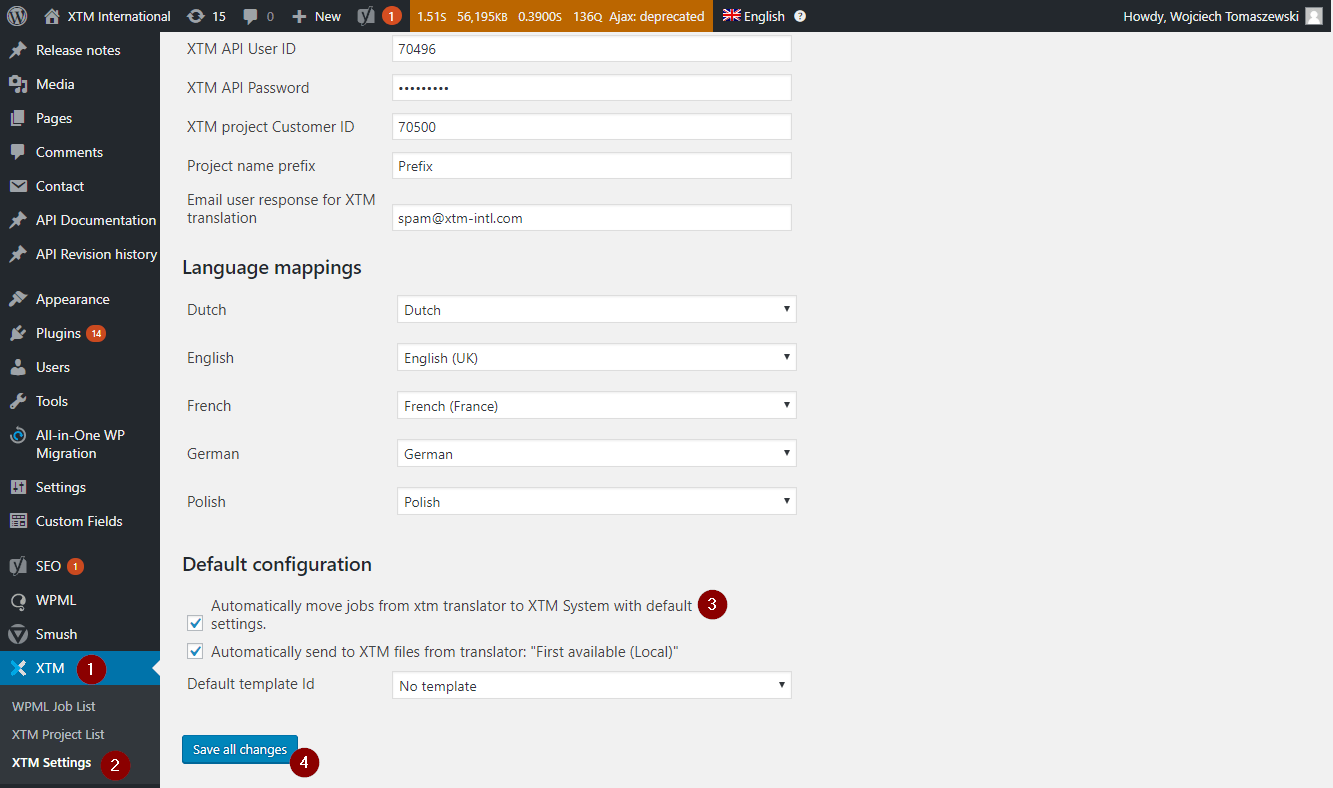
- Step 5 can be automated and omitted when the option to Automatically move jobs from xtm translator to XTM System with default settings is enabled.
- Log in to your WordPress account. Expand the WPML menu. Click Translation Management.
Knowledge Base
How to send pages or posts for translation from XTM Connect for WordPress
For the most up to date information, please check our Online Help