Make sure you have purchased a license to use the add-on. If you do not have the license, use the form at https://xtm.cloud/contact/ or send an email to sales@xtm.cloud.
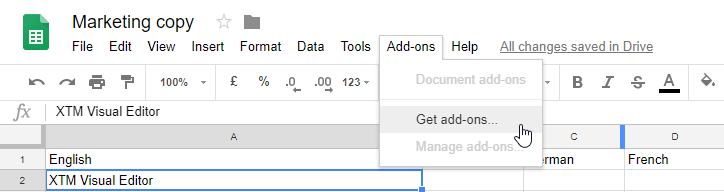
- Open a Google sheet. Click Add-ons and Get add-ons…
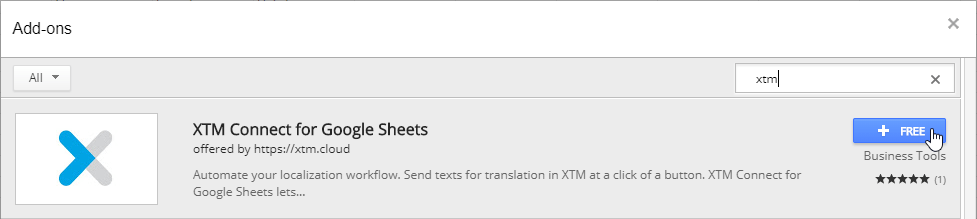
- Search for “xtm”. Then, click “+ FREE” to install it in your Google account.
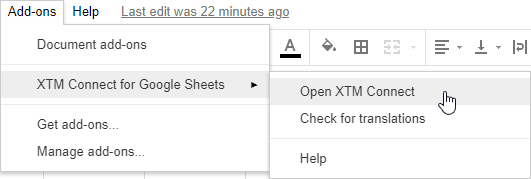
- Install XTM Connect for Google Sheets. When you finish, select Open XTM Connect from the Add-ons menu.
- Enter details to connect with XTM.
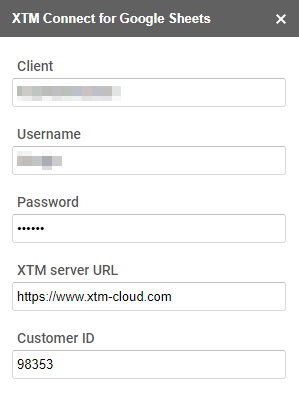
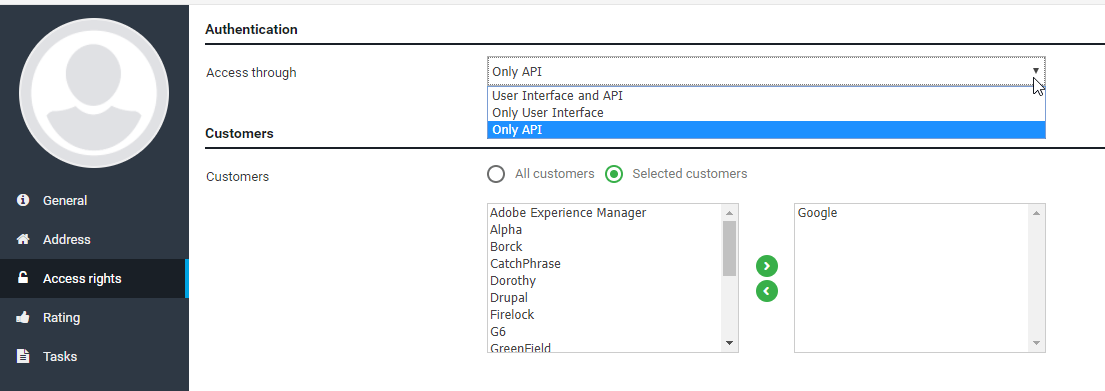
The user who will be using XTM Connect has to be allowed to access XTM only through API or both the user Interface and API on the Users > User Editor > Access rights tab.
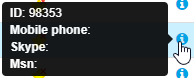
You can find customer ID in XTM, Customers > Customer list.
- If you want to translate content from specific columns, choose the columns option. Then, map source and text columns with their corresponding languages.
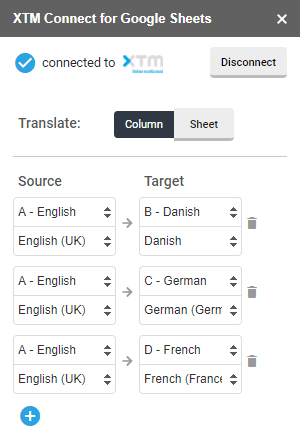
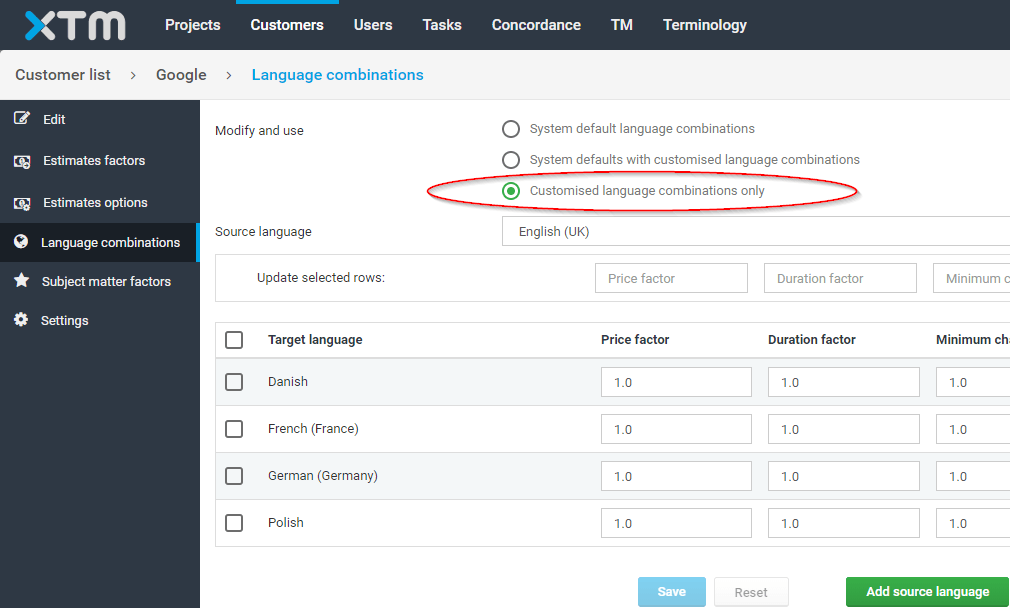
- The list of languages available for selection is based on customer’s settings.
- Choose a project template and a due date. Choose the range of cells for translation and click Request translation. Note that any rows hidden manually or by filters applied, will be included in the scope.
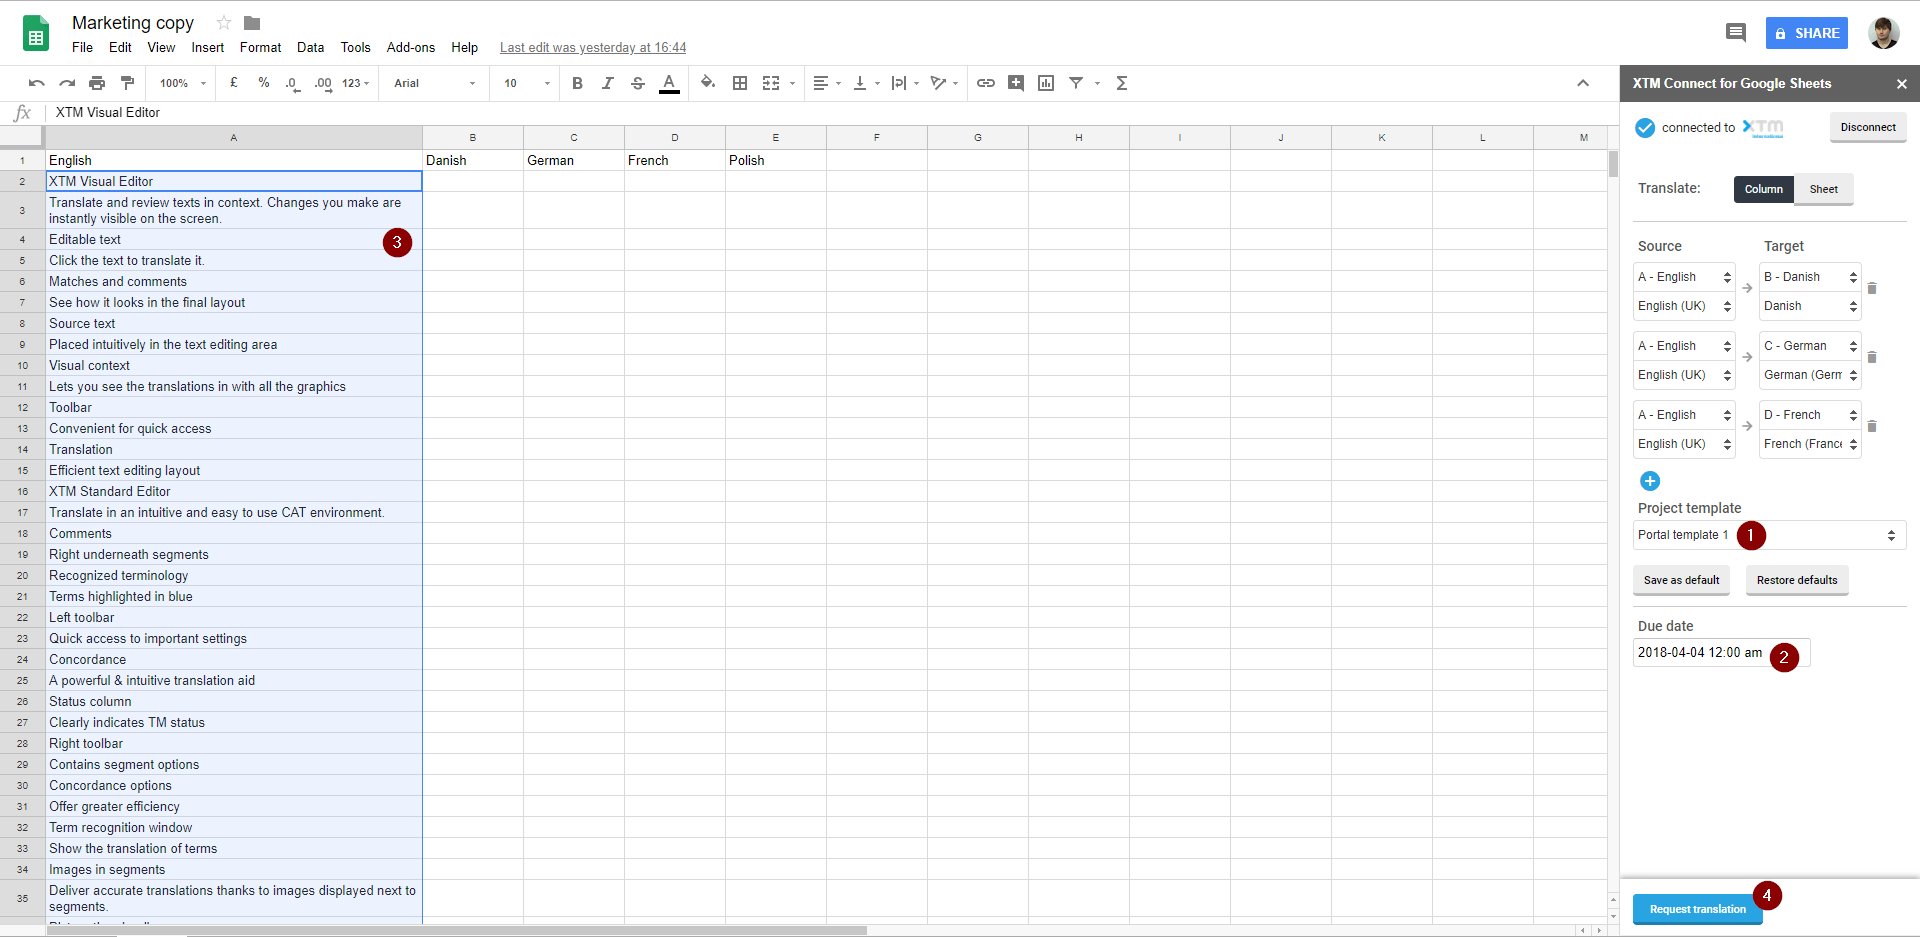
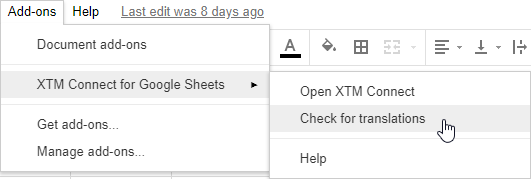
- The project has been created in XTM. Translation will be returned into the intended columns automatically upon completion. Alternatively, you can click Check for translation, to manually verify if translation has been finished.
- The second options is to translate the entire active sheet. Click translate Sheet. Choose the active’s sheet source language, target languages, a project template and a due date, then click Request translation.
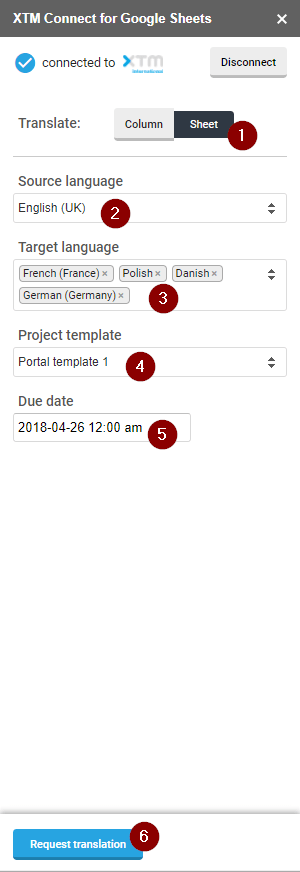
- When the translation is finished, new sheets will be created, one for each language.